Introduction:
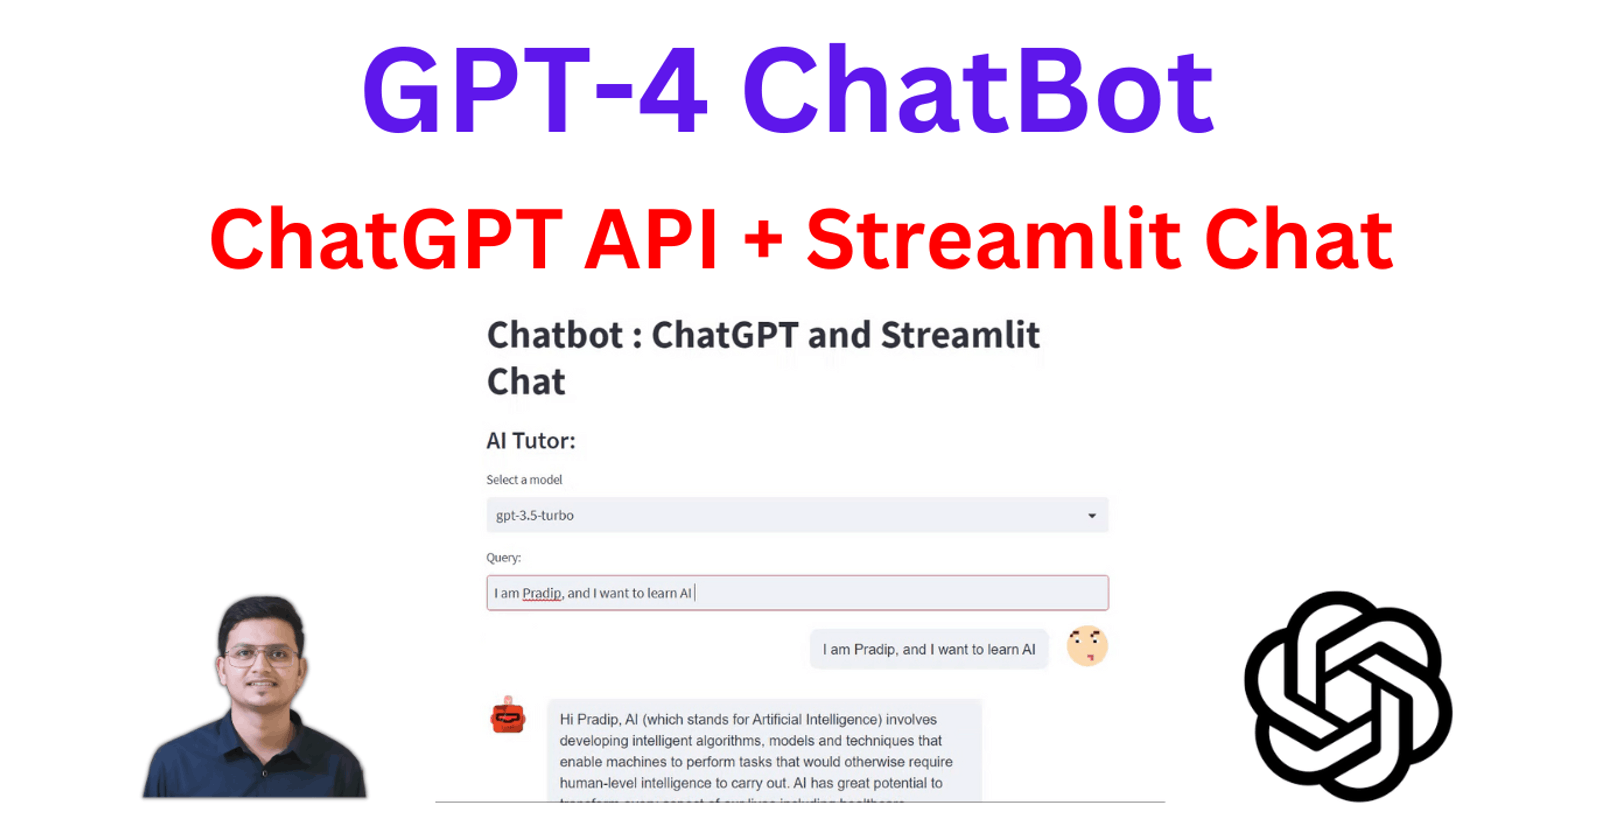
In this blog post, we will demonstrate how to build a GPT-4 chatbot using the ChatGPT API and Streamlit Chat. ChatGPT is an advanced language model by OpenAI that can generate human-like text based on user inputs. Streamlit is a popular open-source framework that allows developers to create interactive web applications easily. By combining the capabilities of ChatGPT and Streamlit, we will create a simple yet powerful chatbot that can answer user queries about artificial intelligence (AI).
Dependencies:
To begin with, we need to install the necessary Python packages. Create a file named requirements.txt and add the following dependencies:
streamlit
streamlit-chat
openai
python-dotenv
You can install these packages by running the following command:
pip install -r requirements.txt
Creating the Chatbot:
We will create two Python files, chatbot.py and utils.py. The chatbot.py file will handle the user interface and interaction with the ChatGPT API, while utils.py will contain utility functions to manage the chat messages and API calls.
- Setting up the chatbot.py file:
In chatbot.py, we start by importing the required libraries and loading the API key for the OpenAI API.
import streamlit as st
from streamlit_chat import message
from utils import get_initial_message, get_chatgpt_response, update_chat
import os
from dotenv import load_dotenv
load_dotenv()
import openai

openai.api_key = os.getenv('OPENAI_API_KEY')
Then, we set up the Streamlit interface with a title, subheader, and a dropdown box to select the language model (GPT-3.5-turbo or GPT-4).
st.title("Chatbot : ChatGPT and Streamlit Chat")
st.subheader("AI Tutor:")

model = st.selectbox(
    "Select a model",
    ("gpt-3.5-turbo", "gpt-4")
)
We initialize the session states to store the generated messages, past queries, and the initial set of messages.
if 'generated' not in st.session_state:
    st.session_state['generated'] = []
if 'past' not in st.session_state:
    st.session_state['past'] = []

query = st.text_input("Query: ", key="input")

if 'messages' not in st.session_state:
    st.session_state['messages'] = get_initial_message()
Next, we process the user's query and generate the AI response.
if query:
    with st.spinner("generating..."):
        messages = st.session_state['messages']
        messages = update_chat(messages, "user", query)
        response = get_chatgpt_response(messages, model)
        messages = update_chat(messages, "assistant", response)
        st.session_state.past.append(query)
        st.session_state.generated.append(response)
Finally, we display the chat messages and an expander to show the full message history.
if st.session_state['generated']:

    for i in range(len(st.session_state['generated'])-1, -1, -1):
        message(st.session_state['past'][i], is_user=True, key=str(i) + '_user')
        message(st.session_state["generated"][i], key=str(i))

    with st.expander("Show Messages"):
        st.write(messages)
- Creating the utils.py file:
In utils.py, we define three utility functions: get_initial_message, `get_chatgpt_response, and update_chat`.
import openai

def get_initial_message():
    messages=[
            {"role": "system", "content": "You are a helpful AI Tutor. Who anwers brief questions about AI."},
            {"role": "user", "content": "I want to learn AI"},
            {"role": "assistant", "content": "Thats awesome, what do you want to know aboout AI"}
        ]
    return messages

def get_chatgpt_response(messages, model="gpt-3.5-turbo"):
    print("model: ", model)
    response = openai.ChatCompletion.create(
    model=model,
    messages=messages
    )
    return  response['choices'][0]['message']['content']

def update_chat(messages, role, content):
    messages.append({"role": role, "content": content})
    return messages
get_initial_message sets up the initial conversation between the user and the AI tutor. get_chatgpt_response takes the messages and the model as input, makes an API call to ChatGPT, and returns the generated response. update_chat appends new messages to the conversation.
Running the Chatbot:
To run the chatbot, execute the following command in your terminal:
streamlit run chatbot.py
This will launch the Streamlit web application in your default web browser. You can now interact with the chatbot and ask it questions about AI!
Code files:
https://github.com/PradipNichite/Youtube-Tutorials/tree/main/chatGPT-streamlit
Conclusion:
In this blog post, we demonstrated how to build a simple chatbot using the GPT-4 ChatGPT API and Streamlit Chat. This chatbot can be a foundation for creating more complex and sophisticated chatbots for various purposes. The flexibility and ease of use of Streamlit, combined with the powerful language generation capabilities of ChatGPT, provide an excellent platform for creating interactive and engaging chatbot experiences.
If you're more of a visual learner, don't hesitate to check out our step-by-step video tutorial, where we walk you through the entire process.
For more insights, tips, and tutorials on AI and chatbot development, be sure to visit our blog at blog.futuresmart.ai. We're constantly updating our content with the latest advancements and techniques in the world of AI, so stay tuned for more exciting content!
Additionally, if you're interested in discovering more AI tools, check out AIDemos.com. AIDemos is a comprehensive directory of video demonstrations showcasing the latest AI tools and technologies. Their mission is to educate and inform users about the incredible possibilities of AI. Don't miss out on the chance to explore and learn about the cutting-edge AI advancements!
