The Ultimate Guide to GPT-3: From Prompt Writing to Python Integration and Fine-Tuning.
What is GPT-3?
GPT-3 (Generative Pre-trained Transformer 3) is a revolutionary language generation model developed by OpenAI. Its ability to generate human-like text and understand natural language input makes it a powerful tool for a wide range of Natural Language Processing tasks. It has been trained on a massive dataset of internet text, which includes a wide variety of topics and styles making it capable of producing text that is both contextually and grammatically correct. The possibilities of GPT-3 are endless ranging from creative writing, content creation, text summarization and much more. Even the most recent buzzword, ChatGPT, which is a scaled-down version of GPT-3 created exclusively for conversational AI tasks, shares the same architecture and methodologies as GPT-3.
GPT-3 Prompt
Using just plain English, you can write prompts to make GPT-3 do what you want. GPT-3 is a large language model which has not been trained to perform any specific NLP task, instead, it just works as a next-word predictor. However, the interesting fact is that it is a Meta-learner and the set of instructions provided in the prompt allows it to carry out the relevant NLP task since it’s able to understand what those tasks look like purely from a text perspective.
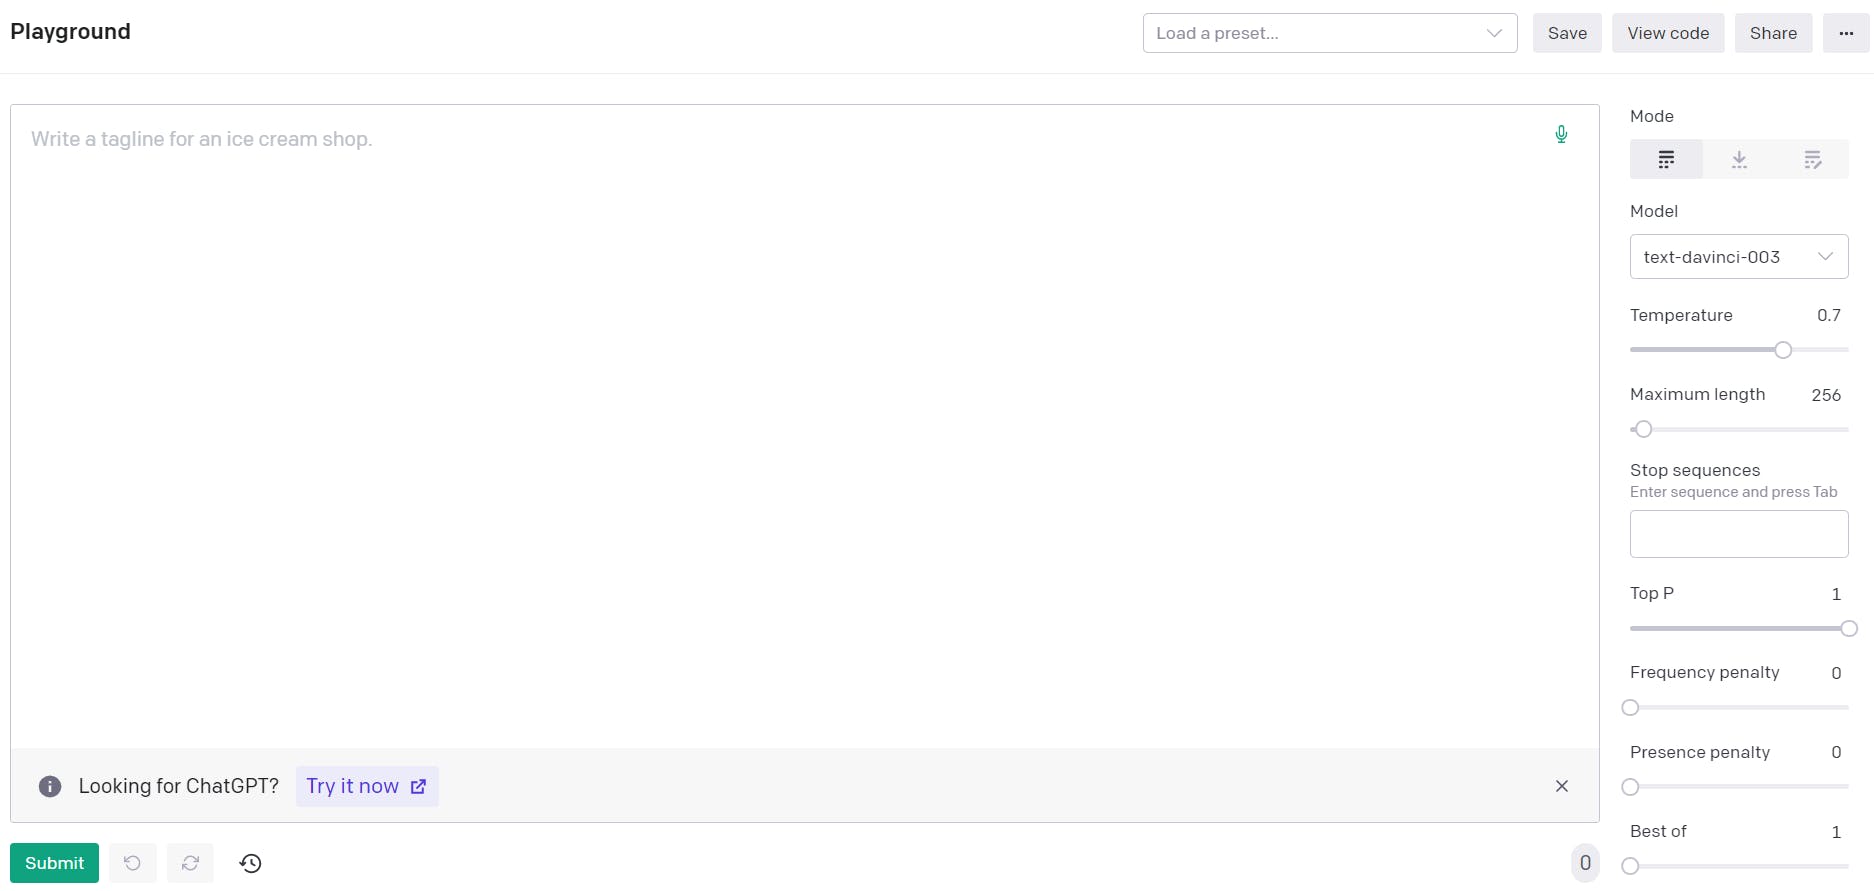
The OpenAI API can be used to access GPT-3, which is not open source. You can test out the model's performance for the specified problem statement and become more comfortable with the API using the OpenAI playground. It is as simple as just typing our prompt (set of instructions given as input to the AI) in the text area and clicking submit to get a response from GPT-3.

Let us see an example of using GPT-3 for named entity recognition.

The above is an example of zero-shot learning which means that the prompt only consists of a description of the task with no reference for output. Additionally, we can add some examples of our expected output format to the prompt which is referred to as few-shot learning. Let’s say we want to have both entity and its type in the completion (Text generated and returned as a result of the provided prompt). So, we modify our previous prompt by adding some examples.

Note that the text highlighted in green represents the completion and ## acts as a delimiter to separate the examples.
We can see that GPT-3 has done a good job given only one example and hence GPT-3 comes in extremely handy in case you do not have a large training data with well-annotated labels. It is important to note the need of providing effective and concise prompts with all the necessary context to leverage GPT-3's strong capacity to follow instructions and get the best possible completion. Apart from this, we can play around with some parameters to enhance GPT-3 performance. Let's go through some of the most interesting ones below
GPT-3 Parameters
model: It refers to the completion-generating model
temperature: This parameter controls the randomness or the degree of freedom for the model. The value of temperature can range from 0 (highly deterministic) to 1 (least deterministic).
max_tokens: It determines the number of tokens we are expecting in the completion
top_p: It is an alternate way of controlling the randomness of the model. It acts like a filter that controls the pool of tokens to be considered while predicting the next word
frequency_penalty: It reduces the probability of a word occurring given how many times it has already occurred to control the model's tendency to repeat predictions.
presence_penalty: It reduces the probability of a word occurring given if it has already occurred
Watch this video for a demo of how to use GPT-3 to build NLP applications
Integrating GPT-3 Prompt with Python
Once you are familiar with the model and are satisfied with the results, you can integrate the API with python code. To do this, follow the steps below.
Step-1:
After writing out the prompt and just before hitting submit, head over to the top right corner and click on the view code button. You will get a pop-up window containing python code for the same GPT-3 request. Copy this code to use later.

Step-2:
Open a Python IDE and install the OpenAI library using the following command.
pip install openai
Step-3:
Paste the code copied from before into the IDE. Here you will have to specify your API key. Go to your OpenAI Account and navigate to view API keys. If there isn't an existing key, generate a new one. Copy and paste this key into the api_key field. We are now done. After running the code you will receive an OpenAI object as a response containing the predictions.
Watch this video for a walkthrough on Integrating GPT-3 Prompt into Python Code
GPT-3 FineTuning
Why do we need fine-tuning?
Higher Quality Results
You can fine-tune GPT-3 to make it more suited to your unique requirements. You can construct a customized version of GPT-3 that performs better than the base model for your particular task by changing the model's parameters and training it on a dataset that is relevant to your use case.
Ability to train on more examples
Before the API processes requests, the input is broken into tokens (word fragments). OpenAI limits the number of tokens contained in the requests. Depending on the model you use, the prompt and completion together can add up to 4097 tokens. As a result, there is a restriction on the number of examples that can be passed to the model in few-shot training whereas we can fine-tune the model on a large number of examples.
Token savings due to shorter prompts
While making a request to GPT-3, the entire prompt including the header and examples is sent to get a response. This leaves us with less token space for the completion. However, we can overcome this issue and create lower latency requests by fine-tuning
Now that we are aware of the advantages, let's go through an example of fine-tuning GPT-3 for intent classification using the ATIS dataset. You can find the dataset by following this link - https://www.kaggle.com/datasets/hassanamin/atis-airlinetravelinformationsystem
Preprocessing Data
First, we import the necessary libraries
We read the ATIS dataset contained in a CSV file using the pandas library and create a Dataframe with column names as intent and text
Then we format the intent field for having clearer labels by replacing '#' with '_' and 'atis_' with an empty string
The ATIS Dataset consists of 22 intents. However, for demo purposes, we will only look into 5 of them. So, we create a list of labels ['flight', 'ground_service', 'airfare', 'abbreviation', 'airline'] and filter the data frame with 100 examples of each intent that is in this list
We permute the data frame to have the text first and then the intent and strip white spaces from both columns
import pandas as pd
import numpy as np

data = pd.read_csv("DATASET_FILEPATH",header=None)

data.columns = ['intent','text']

data['intent'] = data['intent'].str.replace('#','_')
data['intent'] = data['intent'].str.replace('atis_','')

labels = ['flight','ground_service','airfare','abbreviation','airline']
data = data[data["intent"].isin(labels)]

sample_data = data.groupby('intent').apply(lambda x: x.sample(n=100)).reset_index(drop = True)

sample_data = sample_data[['text','intent']]

sample_data['text'] = sample_data['text'].str.strip()
sample_data['intent'] = sample_data['intent'].str.strip()
Preparing and uploading training Data
We further format our Data according to OpenAI suggestions. Each example in our training set consists of a single input prompt and its associated completion, which are provided by the text and intent columns of our Dataframe, respectively.
We append a separator, in this case "\n\nIntent:\n\n" to the prompt to inform the model where the prompt ends and completion begins. Similarly, we append " END" to the completion to inform the model where the completion ends. Note that these separators should be consistent throughout all examples and should not appear elsewhere.
Due to OpenAI's tokenization process, we additionally include whitespace at the start of our completion
We rename the columns of the data frame to 'prompt' and 'completion'
The data is converted to a JSONL file before uploading where each line is a prompt-completion pair corresponding to a training example.
sample_data['text'] = sample_data['text'] + "\n\nIntent:\n\n"
sample_data['intent'] = " "+sample_data['intent'] + " END"

sample_data.columns = ['prompt','completion']

sample_data.to_json("FILE_NAME.jsonl", orient='records', lines=True)
The following is an example of how a single training example should look like after data formatting
{'prompt': 'what does mco stand for\n\nIntent:\n\n',
 'completion': ' abbreviation END'}
We install the OpenAI command-line interface using the following command
!pip install --upgrade openai
Then, we run this command to validate and get refactoring suggestions for our data
!openai tools fine_tunes.prepare_data -f <LOCAL_FILE>
Before proceeding to further steps, it is necessary to set your API key
import os
os.environ['OPENAI_API_KEY'] = "key"
Creating a fine-tuned model
We start the fine-tuning job using the OpenAI CLI
!openai api fine_tunes.create -t <TRAIN_FILE_ID_OR_PATH> -m <BASE_MODEL>
You can choose the base model to be one of the following - ada, babbage, curie, or davinci. The model you choose has an impact on both how well your model performs and how much it costs to run your fine-tuned model. This step takes some time to be executed. However, if it is interrupted for some reason, you can resume it by running the following command
openai api fine_tunes.follow -i <YOUR_FINE_TUNE_JOB_ID>
When the job is done, the name of your ready-to-use, fine-tuned model is displayed
Using your fine-tuned model
Using your fine-tuned model is as simple as making a request to GPT-3 using the openai.Completion.create method and specifying the model to be your fine-tuned model. Make sure that the prompt being passed contains the same separator as the one used during training. Also specify the same stop sequence to properly truncate the completion.
import openai

prompt = "show me ground transportation in baltimore\n\nIntent:\n\n"

response = openai.Completion.create(
  model="YOUR_FINE_TUNED_MODEL_NAME",
  prompt=prompt,
  max_tokens=5,
  temperature=0,
  top_p=1,
  frequency_penalty=0,
  presence_penalty=0,
  stop=[" END"]
)
print(response['choices'][0]['text'])
Watch this video for a walkthrough of Fine-Tuning GPT-3
If you have come this far, you have all the right tools to experiment with GPT-3 and build exciting applications on top of it. Curious to learn more? Check out this playlist on GPT-3.
If you want to stay up-to-date on the latest AI tools and technologies, visit AIDemos.com. Our website is a valuable resource for anyone interested in discovering the potential of AI. With video demos, you can explore the latest AI tools and gain a better understanding of what is possible with AI. Our goal is to educate and inform about the many possibilities of AI. Don't miss out, visit AIDemos.com today!
