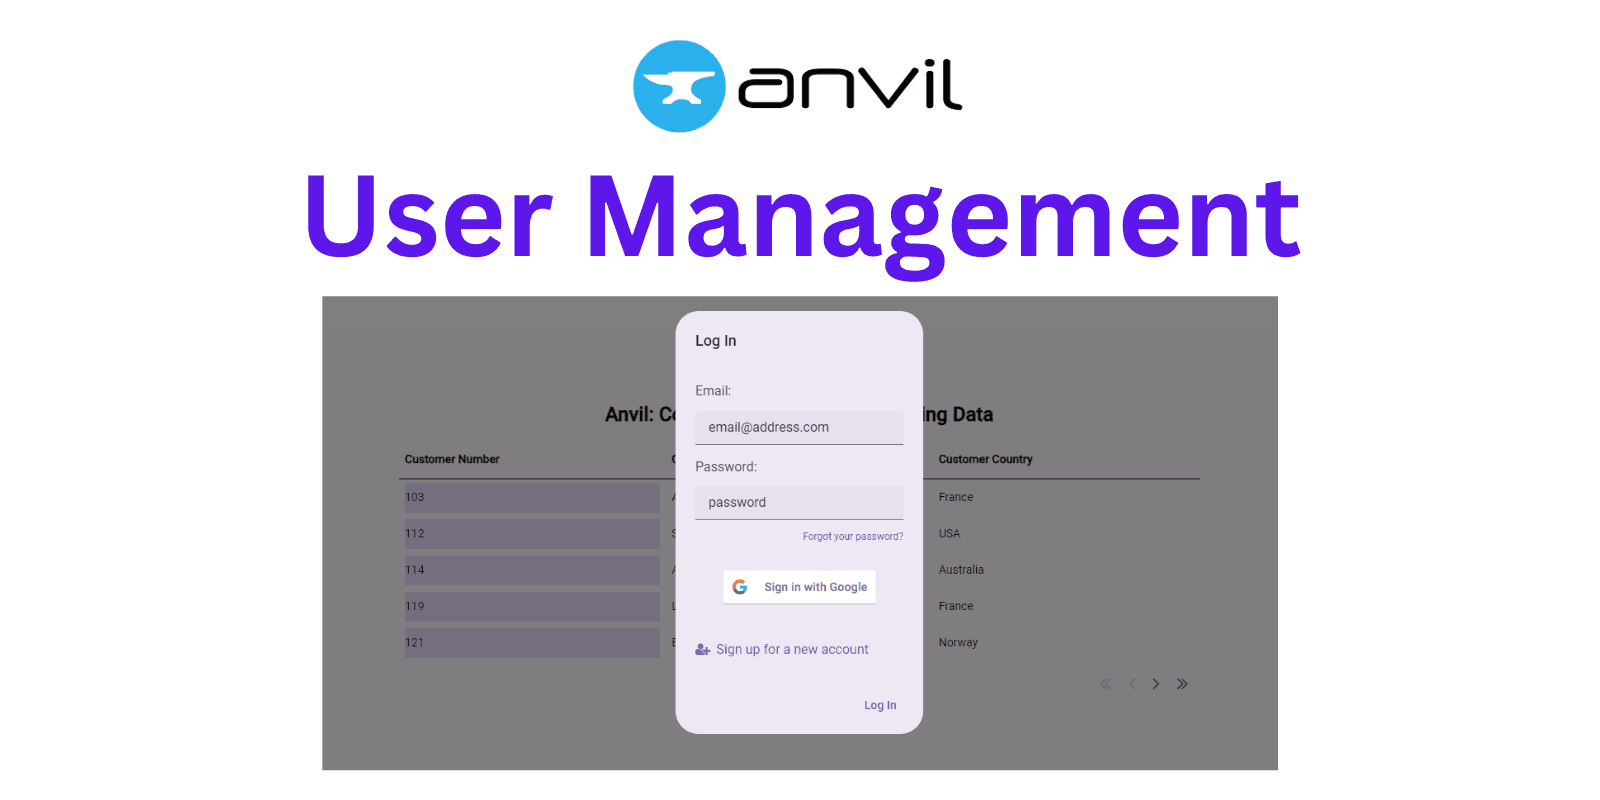
Web application development can be a challenging journey, especially when it comes to managing users effectively. Thankfully, Anvil, a tool built to create robust web applications using nothing but Python, simplifies this process significantly. In this short blog post, we dive into a comprehensive tutorial on Anvil's User Management feature.
Embedded below is a detailed video tutorial that will walk you through the user management process in Anvil. Whether you're an experienced developer or just starting your web development journey, this tutorial is designed to ensure you can maximize the efficiency of your web apps.
Before we delve into the specifics, if you haven't already, I highly recommend checking out the previous two videos in our Anvil Tutorial series. The first video, "Build AI Web app with Custom UI using Python, Anvil, and ChatGPT API", provides a foundational understanding of creating AI web applications. The second video, "Connecting Anvil app to external DB and displaying data in table | Data Grid | Repeating Panels", offers valuable insights into connecting your Anvil app to an external database and displaying data effectively.
Anvil: Python-Powered Web Apps
Anvil's key selling point is its ability to empower developers to build powerful web applications with the flexibility of Python. You don't need to be a seasoned web developer to use Anvil - it's easy-to-use and requires no prior web development experience.
The Anvil Users Service
The Anvil Users Service is a powerful tool that handles user signups, logins, and permissions. It provides a wide range of features to make user management straightforward, flexible, and efficient.
What the Tutorial Covers
Our video tutorial explores the major aspects of the Users Service. Here's a brief overview:
Displaying the Login and Sign Up Forms: The video demonstrates the use of anvil.users.login_with_form() function to show these forms.
Getting the Logged-in User: You'll learn how to retrieve the details of the currently logged-in user with the user = anvil.users.get_user() command.
Implementing the Logout Button: The tutorial explains how to use the anvil.users.logout() function to enable users to securely log out of your application.
Enabling Google Account Logins: We also discuss how to allow users to log in using their Google accounts.
By the end of this tutorial, you'll have a robust understanding of user management within Anvil, ensuring that your web apps are not just powerful but also user-friendly and secure.
We encourage you to watch the video tutorial embedded above. Don't forget to like, share, and subscribe to our channel for more educational content on Anvil and Python-based web application development. If you have any questions or comments, feel free to drop them in the comments section, and we'll be more than happy to assist.
Armed with the knowledge from this and our previous tutorials, we look forward to seeing you create fantastic web apps with Anvil. Happy coding!